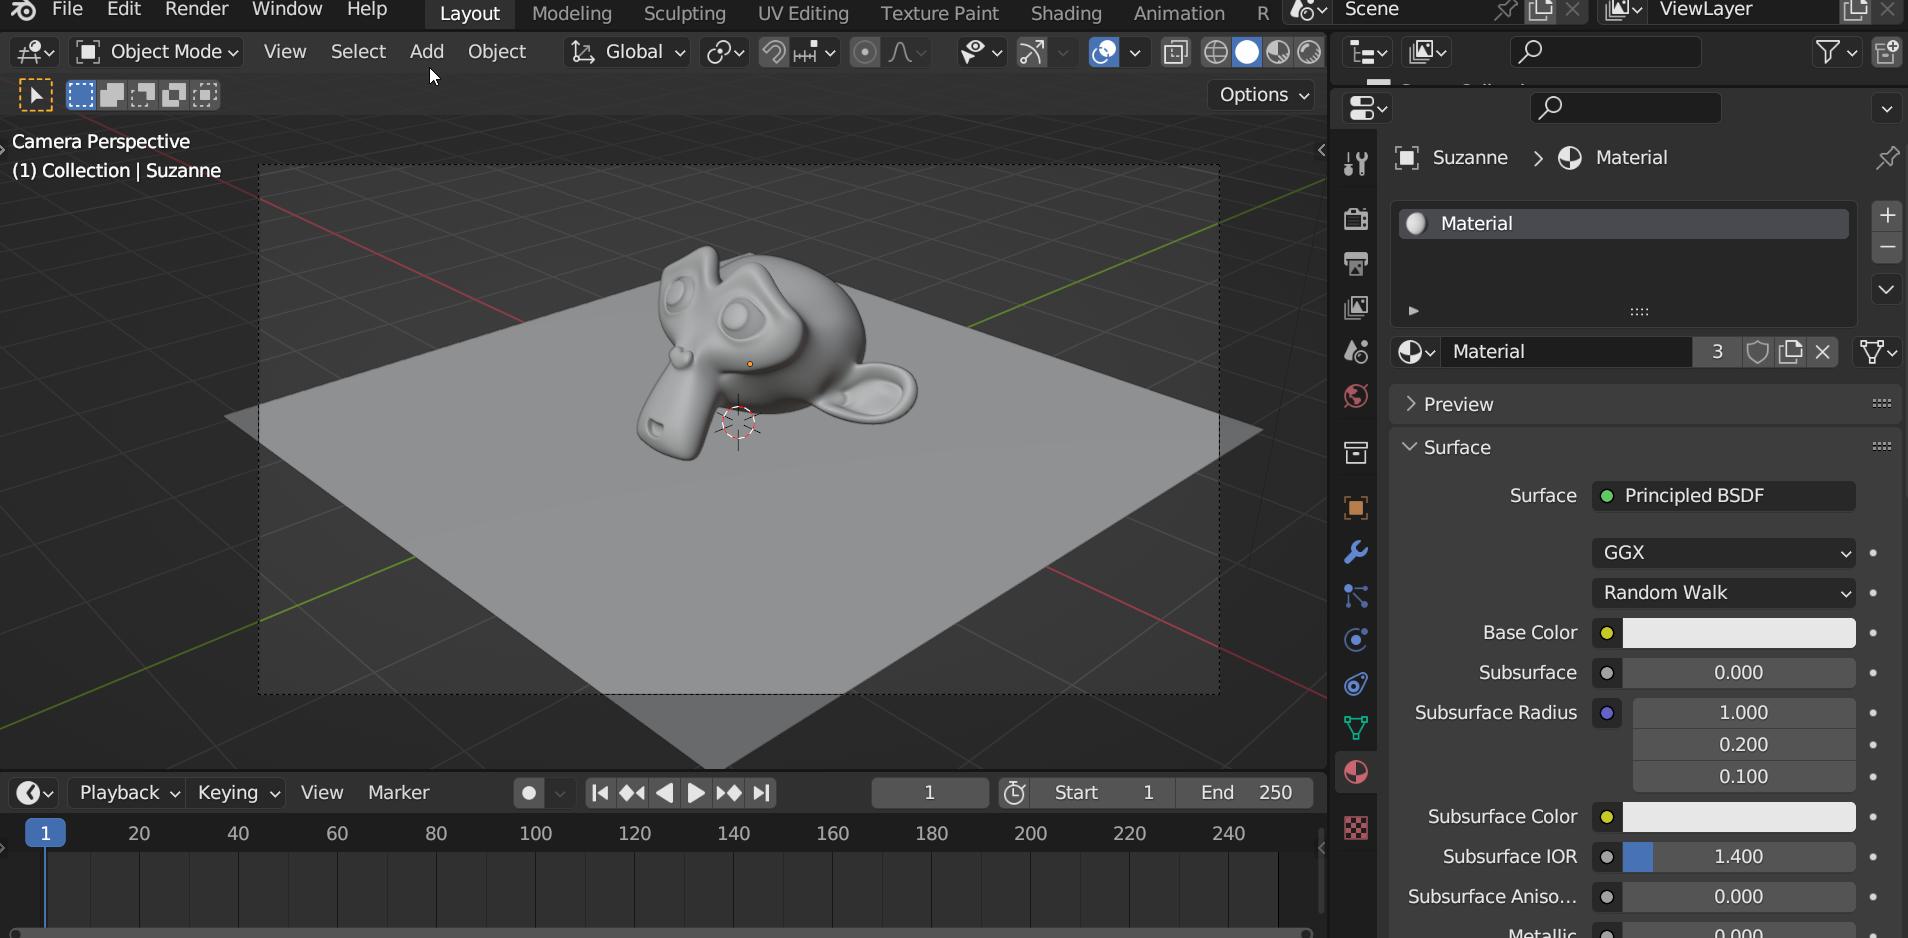
Clay renders hold great importance in 3D visualization, particularly in 3D modeling software like Blender. They provide a simplified representation of a 3D model, highlighting its form and structure without distractions like colors and textures. This allows artists and clients to focus on the design and composition, ensuring a visually appealing result.
Clay renders in Blender facilitate clear communication during the creative process, as they showcase the model’s geometry and lighting. They also serve as a starting point for adding more detailed materials and textures, making them a valuable tool for refining and experimenting with the final visual outcome.
Creating clay renders in Blender without altering the original model is straightforward and uncomplicated.
Here is the procedure for creating clay renders in Blender:
- Finish working on your project
- Add an Ico Sphere to the scene. Scale it down and place it somewhere away from camera view and render view.
- With the Ico Sphere selected, add a new material
- Rename the new material to ‘Override’
- Adjust the Override material color and roughness to your liking
- Go to View Layer Properties > Override > Material Override. On the Material Override box, select the Override material that we created earlier
- When rendering your scene, the Override material will be applied to all objects in the scene
- To revert to your original setup, click (X) next to the Override material to remove it


