
Blender Lighting Secrets Every Artist Should Try
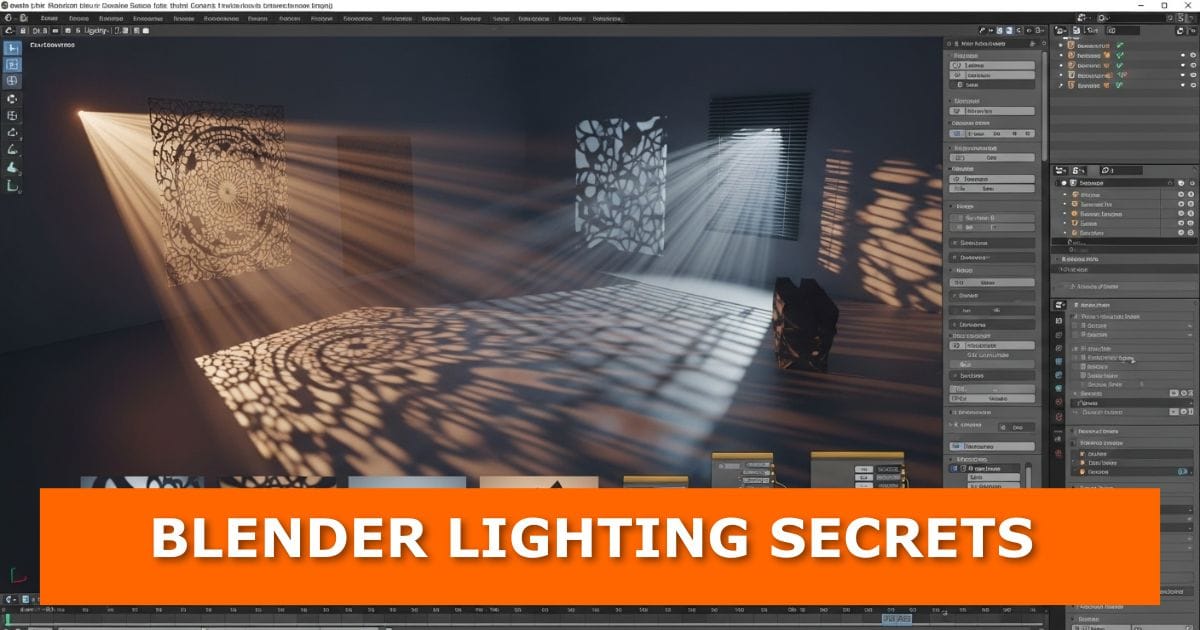
Most Blender scenes don’t fail because of bad models. They fail because of bad lighting.
You can spend hours modeling and texturing, but if your lighting feels flat or unrealistic, the whole scene falls apart. The good news is this: once you understand a few lighting principles, everything you create starts to look better immediately.
This guide walks you through simple, practical lighting techniques you can use right now. Follow along inside Blender and test each step as you go.
Video Tutorial

Why Lighting Changes Everything
Lighting controls how people feel about your scene.
It sets the mood, directs attention, and defines form. A simple object can look cinematic with the right lighting. A complex scene can look dull without it.
As you read, open Blender and try each setup. You’ll learn faster by doing.
Start With One Light First
Before adding multiple lights, begin with just one.
Create a basic object like a sphere or cube. Add a single light source and move it around. Watch how shadows change and how the shape becomes more or less defined.
This step trains your eye.
Try this:
- Move the light closer and farther
- Change the angle
- Adjust the power
Ask yourself: does the object look soft, dramatic, or flat?
Use Three-Point Lighting as Your Base
Three-point lighting gives you a solid foundation for most scenes.
Key Light
This is your main light source. It defines the shape and direction of light.
Place it at an angle, not directly in front.
Fill Light
This softens the shadows created by the key light.
Keep it less intense so it doesn’t flatten the image.
Back Light
This sits behind your subject and creates separation from the background.
It adds depth and makes your subject stand out.
Test this setup and tweak each light. Small changes make a big difference.
If you want to push this further, explore these amazing lighting tools for Blender.
Control Light with Distance and Size
Light behaves differently depending on how you place it.
- A large light source creates soft shadows
- A small light source creates sharp shadows
- A closer light appears stronger
- A distant light feels weaker and more even
Instead of only increasing power, try scaling the light or moving it closer.
This gives you more natural results.
Use HDRI for Realistic Lighting
If you want realism fast, use HDRI lighting.
An HDRI is an image that lights your entire scene from all directions. It mimics real-world environments.
In Blender:
- Go to the World settings
- Load an HDRI image
- Rotate it to control where the light comes from
This works well for product renders and outdoor scenes.
This works well for product and clay renders.
Add Contrast for Depth
Flat lighting makes scenes look lifeless.
You need contrast between light and shadow.
Increase the difference between your bright and dark areas. This creates depth and makes your subject pop.
Try lowering your fill light or increasing your key light slightly.
Look at your render and ask: does anything stand out?
If your scene still looks noisy or unclear, this guide on how to eliminate noise, grain and fireflies can help clean it up.
Use Color to Set the Mood
Lighting is not only about brightness. Color matters too.
Warm light feels inviting. Cool light feels calm or distant.
You can:
- Add a slight orange tone to your key light
- Use blue tones in shadows
- Mix colors for cinematic effects
Keep it subtle. Small color shifts work best.
Check Your Lighting in Render View
Always preview your lighting in render mode.
What looks fine in solid view may look completely different when rendered.
Switch to rendered view and adjust as you go.
If something feels off, it usually is.
Keep It Simple
Many beginners add too many lights.
This makes scenes confusing and hard to control.
Start simple. Build up only when needed.
If your scene works with one or two lights, you’re doing it right.
Try This Quick Lighting Exercise
Open Blender and do this now:
- Add a sphere
- Add one light
- Adjust its position until the sphere looks interesting
- Add a second light to soften shadows
- Render the result
This small exercise builds real skill.
If you try it, share what you noticed or struggled with.
Let’s Keep Improving Together
Lighting takes practice, but each scene you create will get better.
If you have questions about a setup or want feedback on your render, drop a comment. I read them and respond.
Want more tutorials like this? Explore other posts on the blog and keep learning step by step.
If this guide helped you:
- Share it with someone learning Blender
- Bookmark it and revisit as you practice
- Check back for updates and new lighting techniques

What do you think?
Join the Conversation