Baking animation to keyframes is one of the most useful tricks in Blender. Whether you’re perfecting a rigid body simulation or optimizing a fluid effect, this process converts dynamic calculations into static keyframes. The result? Smoother playback, faster rendering, and seamless animation export to other software.
In this tutorial, I will walk you through the steps to bake animations and physics simulations, why it’s essential, and how to make the most of this feature in Blender.
Why Bake Animations?
Baking animations converts effects like physics or driver-based animations, into keyframes. Here’s why you might want to do it:
- Improved Performance: Simulations can bog down your computer. Baking converts them into pre-calculated data for smoother playback.
- Faster Rendering: With keyframes, there’s no need to recalculate simulations during rendering.
- Enhanced Portability: Need to transfer your animation to another software? Baking ensures compatibility.
How to Bake Animation to Keyframes in Blender
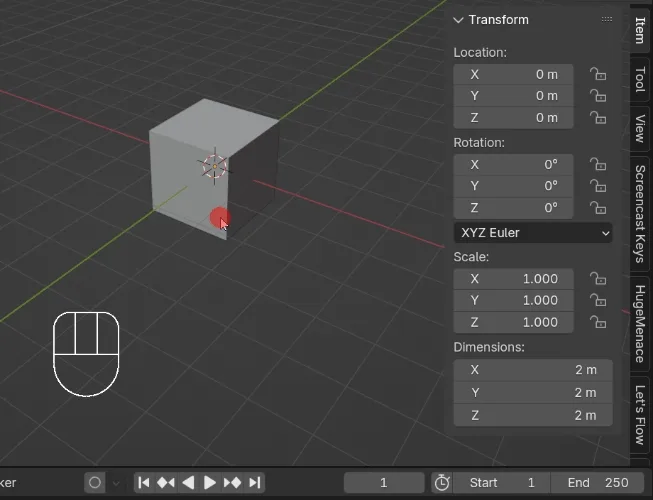
Let’s start with a straightforward animation. For example, imagine animating a cube along a sine wave pattern:

Step 1: Set Up the Animation
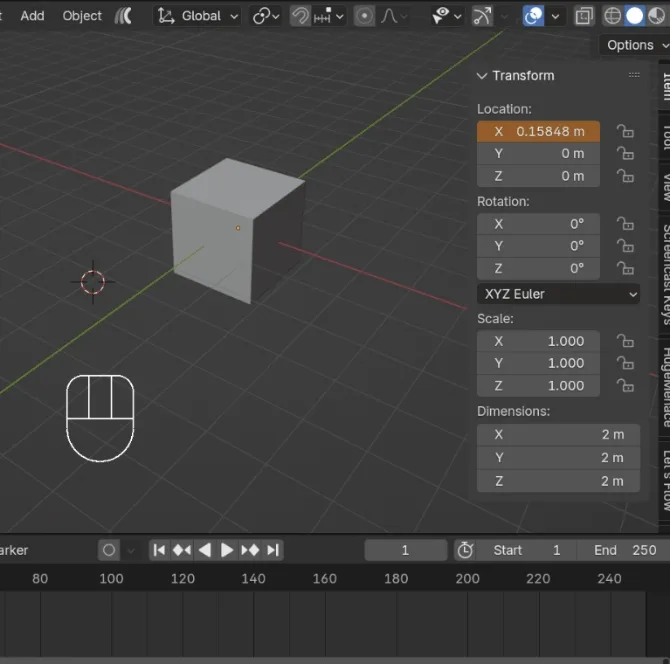
- Select the cube and insert a keyframe for the X-location at frame 1.
- Enter the following formula into the X-location: #sin(frame/(2*pi))
- Play the animation to see the cube move left and right.
Step 2: Bake the Animation

- Select the cube.
- Go to the Object menu in the 3D viewport, then navigate to Animation > Bake Action.
- In the “Bake Action” panel, ensure “Bake to Keyframes” is selected.
- Adjust the Start and End frames (e.g., 1 to 250).
- Click OK to bake.
How to Bake Rigid Body Simulations
Rigid body simulations involve objects interacting with gravity and collisions. To bake rigid body simulations, follow the steps below:
Step 1: Set Up the Simulation
- Create a rigid body simulation with objects interacting dynamically.
Step 2: Bake the Simulation
- Select the object.
- Go to Object > Animation > Bake Action.
- Configure settings and press OK to bake into keyframes.
How to Bake Fluid Simulations
Fluid simulations, like water or smoke, require a slightly different approach:
Step 1: Create a Fluid Simulation
- Create your fluid simulation to your preference.
Step 2: Bake the Simulation

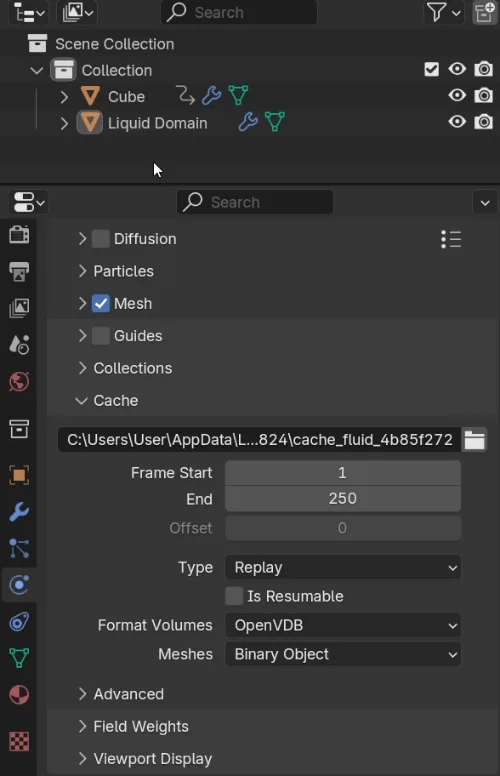
- Select the domain (a cube automatically generated during the simulation setup).
- Go to Physics Properties > Fluid > Cache.
- Choose an output folder for the bake.
- Set the cache type to All and enable Is Resumable (handy for pausing complex bakes).
- Click Bake All to start.
Key Takeaways
- Baking is a must for smooth playback, faster rendering, and efficient workflows.
- You can bake almost any animation, including rigid body and fluid simulations.
- Experiment with settings like frame range, frame step, and resumable caching to fit your needs.
Over to You!
What animations are you planning to bake? Got any baking tips of your own? Share them in the comments! If you found this tutorial helpful, consider subscribing to the blog or sharing it with your 3D artist friends. Happy animating!


