Blender lets you customize units of measurement to match your project. Whether you’re working with real-world dimensions or just need better accuracy, it’s easy to set up. Let’s walk through how to do it.
How to Change Units in Blender

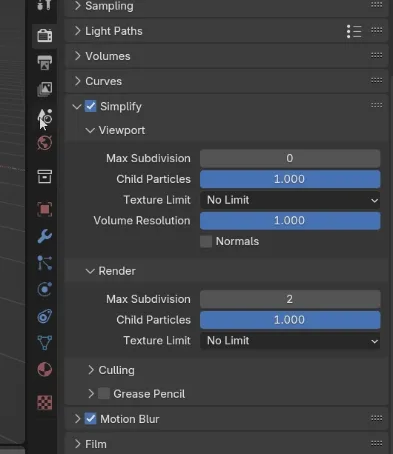
- Go to Scene Properties: On the right side of Blender’s interface, click the Scene Properties tab (the icon with the cone and sphere).
- Pick a Unit System:
- Metric: Use meters, centimeters, millimeters, etc.
- Imperial: Great for feet and inches (common in the US).
- None: Blender uses its default “Blender Units.”
- Fine-Tune Your Units:
- For Metric or Imperial, you can choose specific units like kilometers, meters, or centimeters.
- Select Adaptive to let Blender adjust units automatically based on your object or scene size.
Pro Tip: You can also set units for rotation, mass, time, and temperature in this menu.
How to Show Measurements in Edit Mode
Once your units are set, you can display measurements like edge lengths, angles, and areas while editing. Here’s how:

- Switch to Edit Mode:
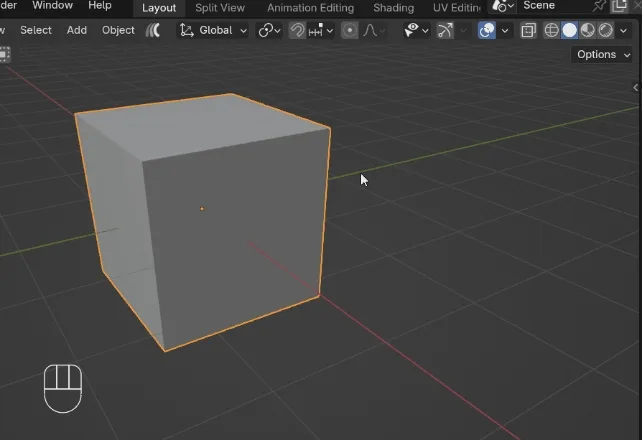
- Select your object and press Tab to enter Edit Mode.
- Open the Overlays Menu:
- Look for the Overlays menu at the top-right of the 3D viewport. Click it to see more options.
- Turn On Measurements:
- Find the “Measurements” section and toggle on options for:
- Edge lengths
- Angles
- Face areas
- Find the “Measurements” section and toggle on options for:
- See Your Measurements:
- Measurements will now show up in the units you set earlier.
Join the Conversation
What units do you use in Blender? Got any tips for working with measurements? Share your thoughts in the comments! Your questions might even inspire future tutorials.
If precision is part of your workflow, you may also want to check import CAD files to Blender, which is especially useful for engineering and architecture projects.
For setting up accurate modeling environments, see how to set a background image in Blender for modeling reference, which complements unit adjustments for real-world scaling.
If you’re interested in production beyond Blender, 3D printing explained provides insight into how precise measurements translate into physical objects.
For optimizing models once units are set, you might also like how to reduce geometry faces, vertices, polygon count on a mesh in Blender to keep projects efficient.
Keep Blending!
If this tutorial helped, please comment, share, and subscribe to our blog for more Blender tips. Bookmark this page for updates. Happy blending!


