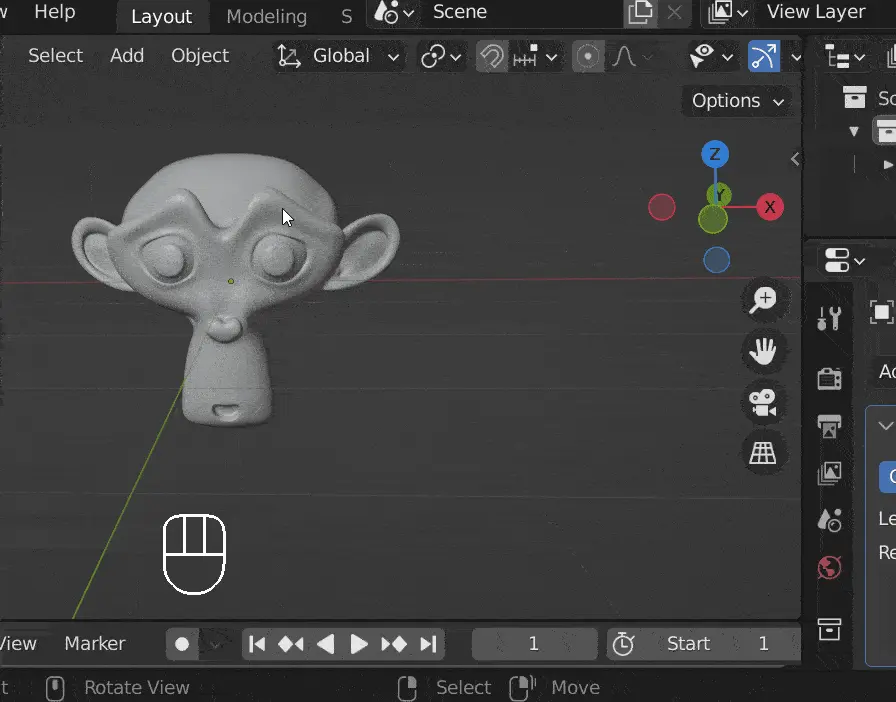
You are modeling in Blender. A bit into your project, you notice that the point of origin is no longer at the center of your object. Or the pivot/center of origin is not where you want it to be. How do you recenter or move your origin/pivot point in Blender?
Method 1: Set object origin from Blender’s object menu
- Select your object
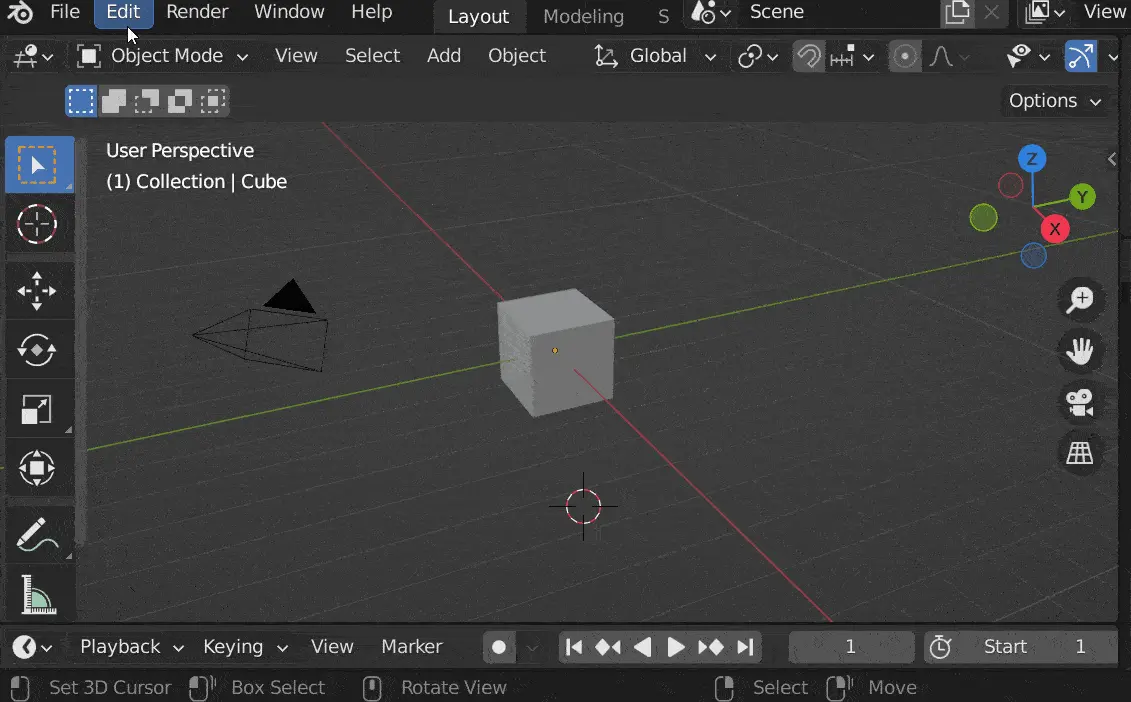
- On Blender’s top menu click ‘Object’. From the dropdown menu, hover over ‘Set Origin’
- Several options will appear that allow you to manipulate your object’s center of origin
- At the bottom of this post, we explain how each option affect’s your object’s center of origin

Method 2: Search for the ‘Set Origin’ operator from Blender’s search tool
Setup your search tool to the spacebar key shortcut in Blender
To use this method, you have to know how to access Blender’s search tool. I have set mine to be accessible when you tap on the space bar. If you need help on how to set up Blender’s search shortcut, follow the short tutorial below.

Now that your search tool is ready, let’s set our object’s origin point
- Select your object
- Tap on the space bar on your keyboard and type ‘Set origin’
- A dropdown list will appear with all available options for setting the origin of an object

Blender’s ‘Set Origin’ options
The object origin and geometry can be moved relative to each other and to the 3D cursor.
Geometry to Origin: Moves the model to the origin and this way the origin of the object will also be at the center of the object.
Origin to Geometry: Moves the origin to the center of the object.
Origin to 3D Cursor: Moves the origin of the model to the position of the 3D cursor.
Origin to Centre of Mass: Moves the origin to the calculated center of mass of the model (assuming the mesh has a uniform density).


