Introduction
Tracking footage in Blender can be a challenging task. Unlike After Effects, where tracking can be done with just a few clicks, Blender lacks a straightforward method for tracking. However, in this tutorial, we’ll show you how to transfer tracking data from After Effects to Blender for free. By following these steps, you can enhance your motion tracking workflow.

Step 1: Track your footage in After Effects
- Open After Effects and import your footage into the project. Create a composition from the footage.
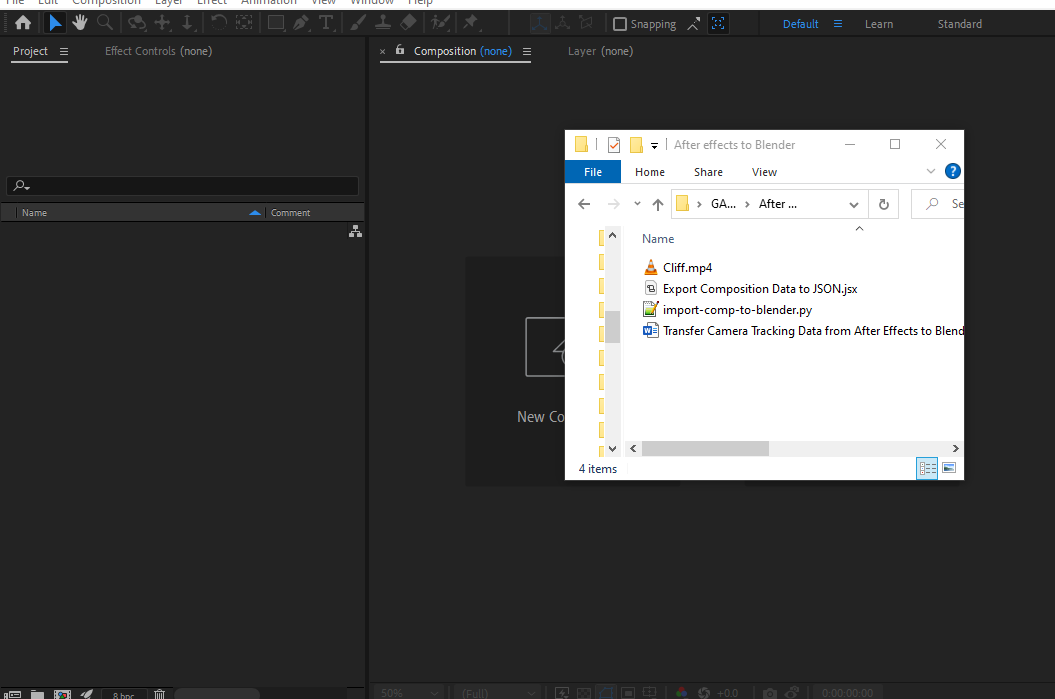
- Navigate to the Effects and Presets panel on the right-hand side. Search for the “3D camera tracker” and drag it onto your footage.
- Access the advanced tab of the 3D camera tracker and ensure “detail analysis” is turned on.
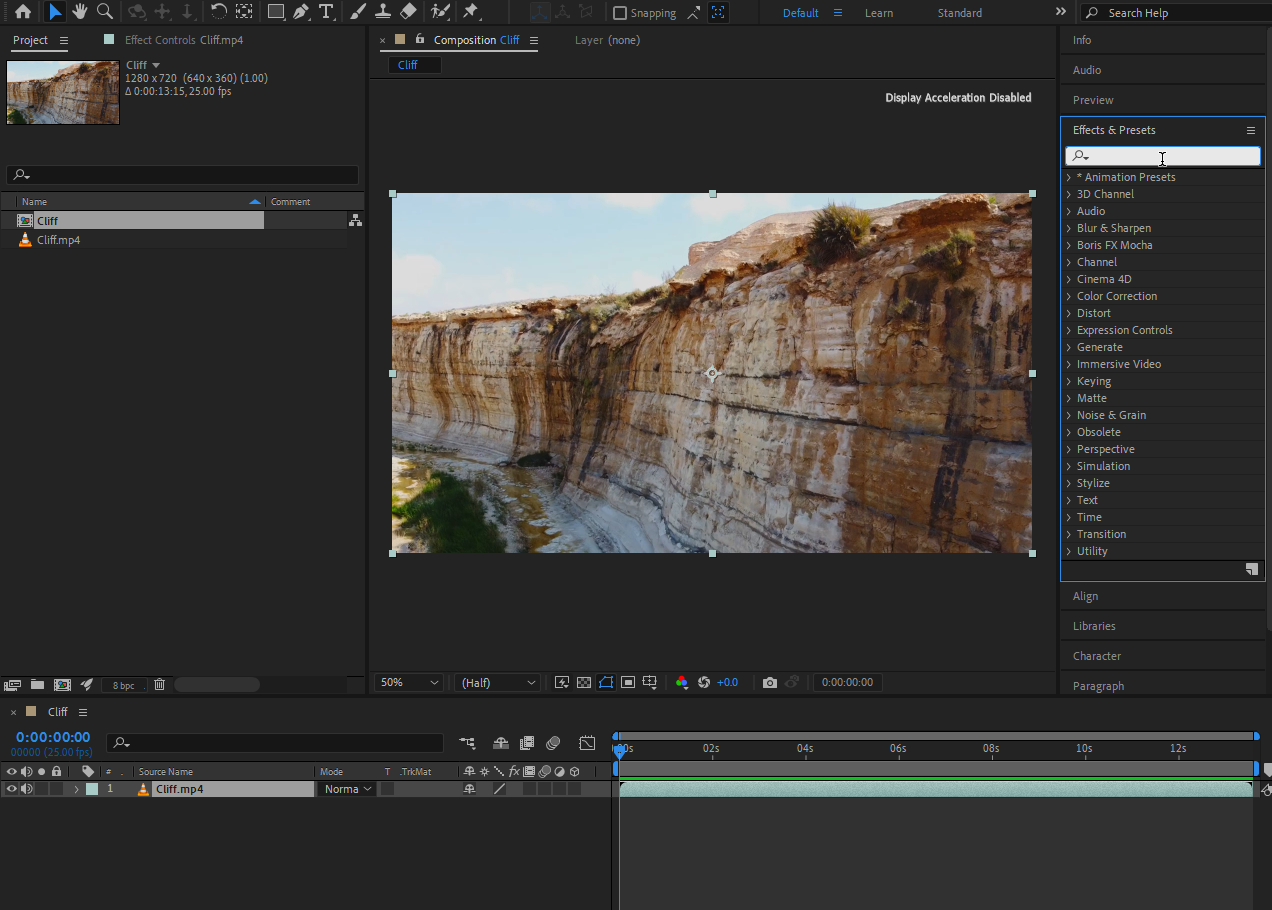
- Allow the computer some time to analyze the footage.
Step 2: Create a plane on the spot you intend to place your 3D model
- On the spot where you intend to place your 3D models, select multiple tracking markers.
- To select multiple points, hold the left mouse button and drag your cursor.
- Once selected, right-click and choose “Create Solid and Camera.”
- This action generates a 3D plane based on the selected tracking markers, along with a 3D camera that we’ll use in Blender.
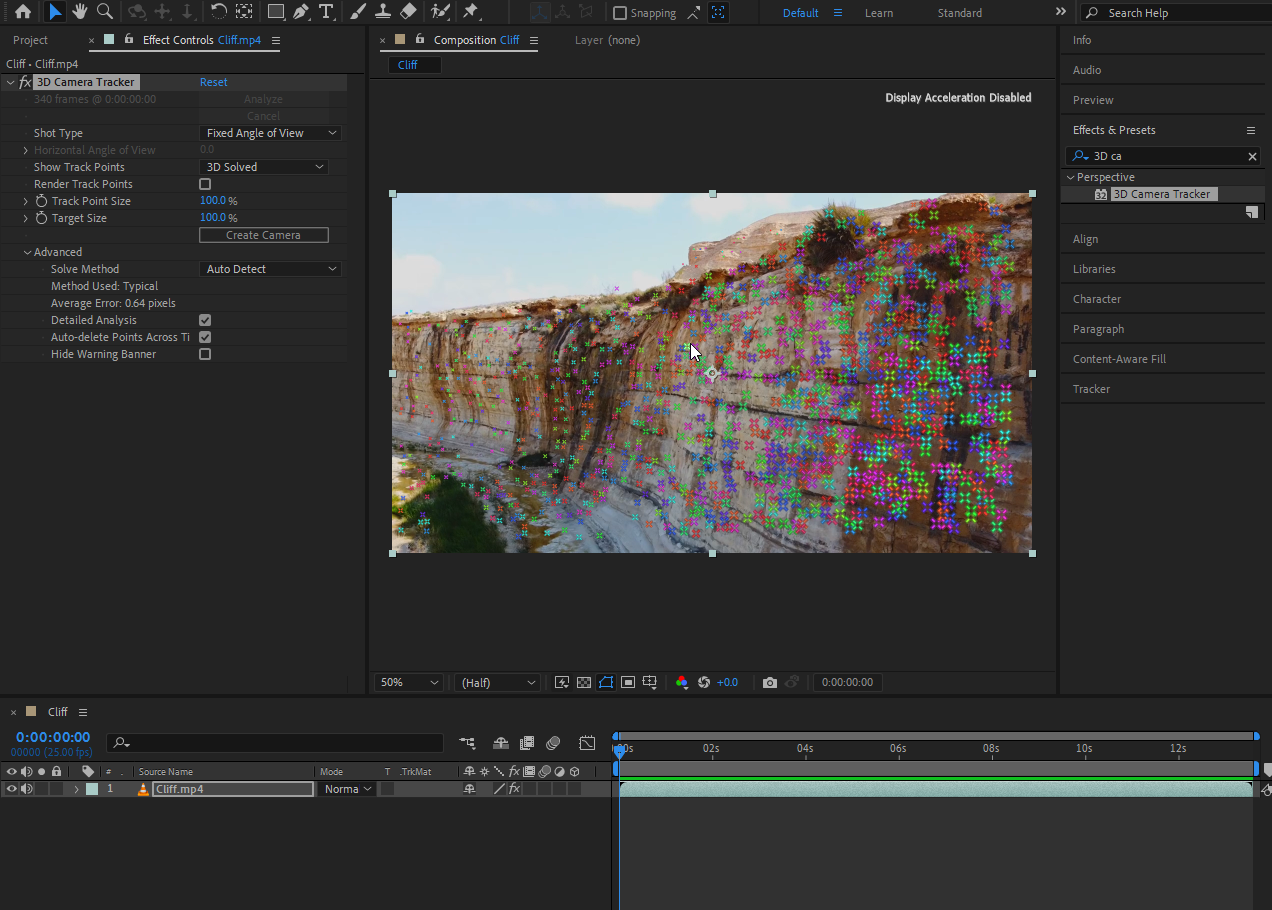
Step 3: Export camera tracking data from After Effects
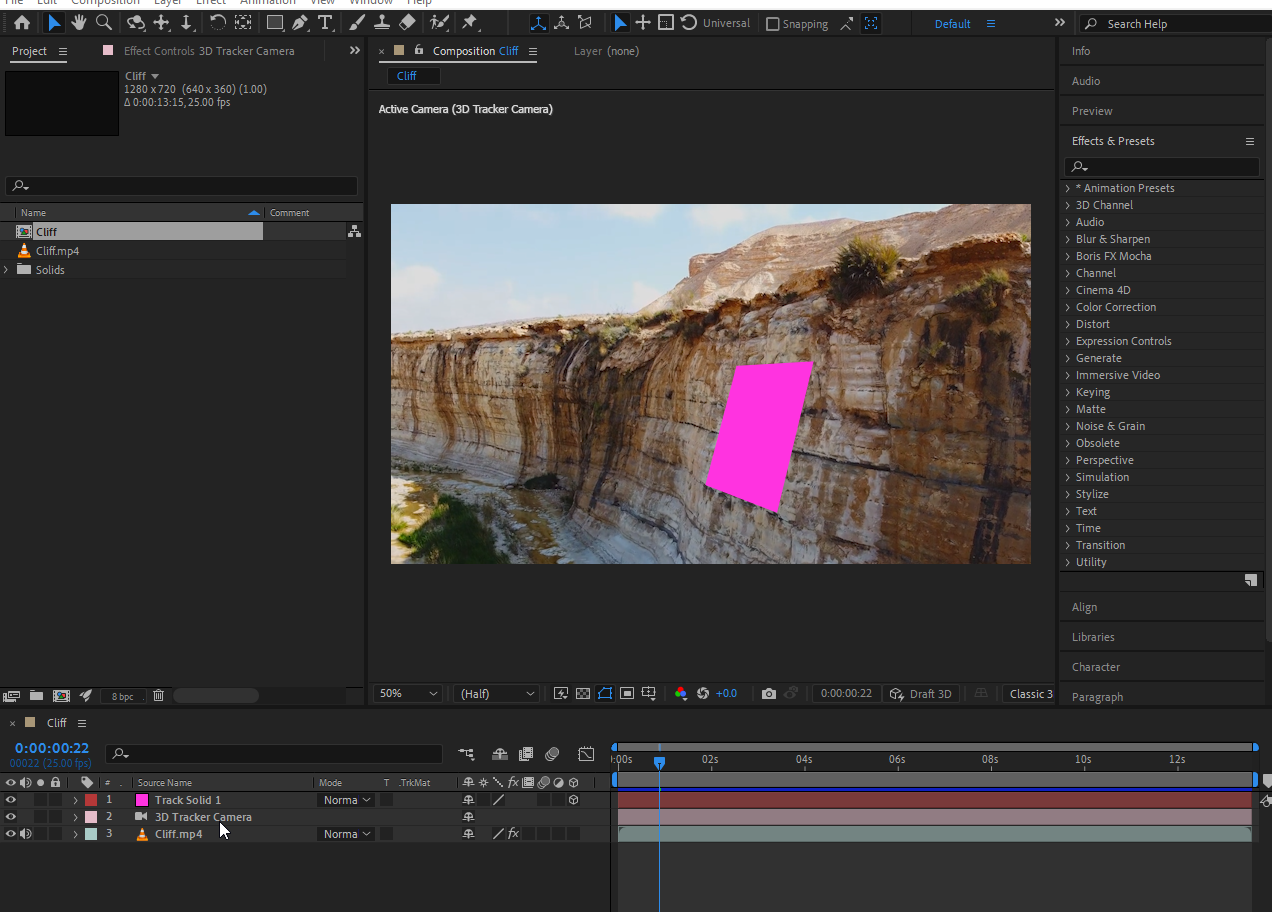
- To transfer the plane and camera data to Blender, download the script that lets you export camera data from After Effects.
- In After Effects, go to “File,” open the “Scripts” panel, and choose “Install Script File.”
- Select the downloaded script Export Composition Data to JSON and restart After Effects.

- Reopen your project in After Effects.
- Select the Track Solid and 3D Tracker Camera on your composition layers.
- Go to File > Scripts > Export Composition Data to JSON Script.
- When you run the script, a dialog box will appear.
- In the dialog box, click Browse button to select where you want to save the file
- Make sure to check the “Time range” and “Export selected layers only” boxes in the dialog box.
- Click Export button.
Step 4: Import camera tracking data into Blender
- Download the add-on that lets you import camera tracking data into Blender.
- Open Blender and go to “Edit” > “Preferences.”
- In the “Preferences” window, head over to the “Add-ons” panel.
- Click “Install” and choose the Python file import-comp-to-blender you downloaded.
- Click on the check box next to the add-on to activate.

- Go to “File” > “Import,” and you should see a new option called “After Effects Composition Data Converter. Json.”
- Select the JSON file you exported from After Effects.
- You’ll see a camera and the plane you created in After Effects.
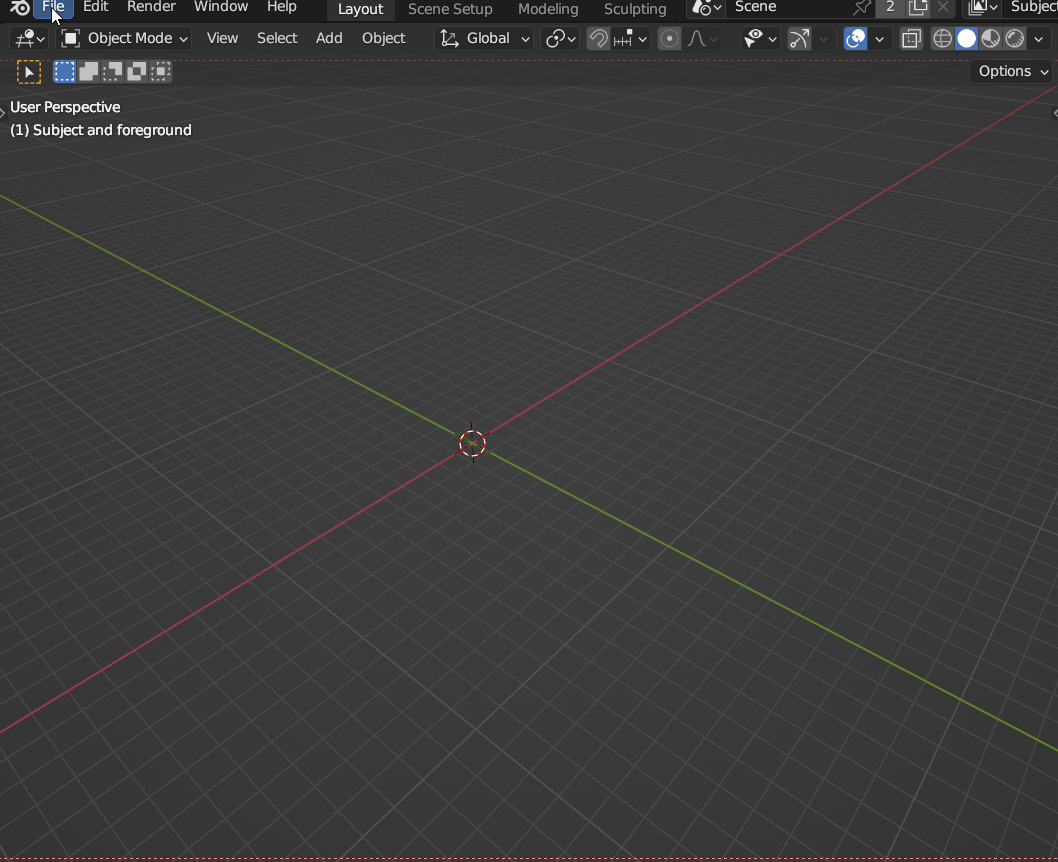
Step 5: Make some adjustments in Blender
- Select the camera and go to the camera options panel.
- Enable “Background Images.”
- Click on “ADD image” and set the background source to “Movie Clip.”
- Open the background footage from After Effects.

- This step isn’t mandatory but allows you to see the background footage directly in the camera view.
- Make sure the frame rate of your footage matches the frame rate you’ve set in Blender.
- When playing the scene, you might notice that the track isn’t perfect. This discrepancy is due to Blender starting at frame 1 and After Effects at frame 0. To resolve the frame offset issue, shift the keyframes of the camera by one frame. The first keyframe should now be on frame 0.
- You can now add various objects to the tracking plane.
Conclusion
Congratulations! You’ve successfully transferred tracking data from After Effects to Blender for improved motion tracking. If you have any questions or need further assistance, feel free to ask in the comments. Good luck with your motion tracking projects!
Frequently Asked Questions
-
Why transfer tracking data from After Effects to Blender?
After Effects is known for its efficient tracking capabilities, but Blender offers more advanced 3D modeling and animation tools. By transferring tracking data to Blender, you can leverage the strengths of both software for complex projects.
-
Can I transfer tracking data from After Effects to Blender for any footage?
In general, this method works for various types of footage, but the quality of tracking largely depends on the quality and clarity of the footage you use.
-
Does this process work for all versions of After Effects and Blender?
The compatibility of scripts and plugins may vary with software versions. Ensure you use compatible versions or seek updated scripts if needed.
-
How do I deal with frame offset issues between After Effects and Blender?
Adjust the keyframes of the camera in Blender to account for the frame offset. Blender starts at frame 1, while After Effects starts at frame 0.
-
Can I use this method for 2D tracking in After Effects and then transfer it to Blender?
This tutorial primarily covers 3D tracking, but you can adapt the process for 2D tracking as well. The key is exporting tracking data in a format that Blender can use.
-
Can I seek help if I encounter issues during the process?
Absolutely! Feel free to ask questions or seek assistance in the comments section of the tutorial. The community is often willing to help troubleshoot any problems you may encounter.
-
Are there any limitations or challenges in transferring tracking data between the two software?
Some limitations may include differences in coordinate systems, scaling issues, and minor adjustments needed during the process. The tutorial addresses these challenges.
-
Can I use this method for professional projects?
Yes, you can apply this method to professional projects, but it’s essential to thoroughly test and refine your workflow to ensure high-quality results.
-
Are there any specific project types where this workflow is particularly beneficial?
This workflow is advantageous for projects that require a combination of advanced tracking, 3D modeling, and compositing, such as visual effects in films, animations, or commercials.




Hey, thanks for this addons- but i would like to know, if i have mi AE camera in vertical format, like instagram histories, when i import in Blender, it´s by default in 1920×1080. How can i config that?
Hi Juan. After importing camera data into Blender, go to ‘Output Properties’ and set X and Y resolution size same as your camera resolution size.
I shot my footage on 4K vertical. I did all the processes and it went well except my footage in blender is still horizontal until I set my X & Y to 1080×1920. Kindly help Gachoki
Under ‘Output Properties’ tab, go to ‘Format’. Adjust the x and y values under ‘Aspect’ until you get desired results.
thanks this is really good
Thank you. Glad we could help.
when I export after effects data it’s coming as text document not JSON format. i couldn’t import the data in Blender
Hi Christopher
Open the file you downloaded with Notepad++. On Notepad++, go File > Save As. On the popup window under Save as type:, Select JSON file. You can now import the JSON file into Blender.
Thank you so much !!!
One more doubt, After I import the camera data, camera is going under the grid. How to align the imported camera orientation to the grid.
The camera adapts the coordinates from After Effects tracking coordinates. Try to arrange your assets according to the camera path.
Thanks a lot !!! For the quick response
Any time.
when trying to import the file into blender, the actual export isn’t appearing. the time on folder location it should be in is updating as if something is in there but when i click on the folder it’s empty.
this could be something on my end.
could it be because im mac?
I haven’t given it a try on a Mac. It works on Windows just fine. Try on Windows to see if you get same results.
Hi! Great plugins! However, I have encountered an issue after weeks of debugging, and I still can’t solve it. I’m hoping to get some help.
After importing JSON from After Effects into Blender, all the transformations are mostly accurate, but the position is shaking around the tracking spot. This issue seems to be more noticeable when scaling up.
I’m wondering if it’s because I’m using the AE plugin Geolayers, and the scale and position values are quite huge (around 200000 for position and 75000 for scale). I’m not sure if these values exceed the maximum allowable limit.
Is it possible to fix it?
I am not familiar with Geolayers plugin. However the principal used in our setup is simply transferring the camera with all it’s animation from After Effects into Blender.
After using track camera in AE to set up the camera data, I use your script and it brings everything into blender which is great, but the camera animations are empty, they do not move at all.
I just gave it a try in Blender 3.5.1 and works fine.
My dialogue box says “Bake Transforms” instead of “Comp camera is centered” Maybe I installed it wrong? I will try downloading again.
Nothing In have tried has worked. Also the AE menu says export composition data instead of export camera data. It brings everything in but never with any keyframes.
Okay. I will do further tests and advise.
I made a whole new scene and the camera came in to Blender with keyframes. Not sure why my other scene does not work, but if I find out I will let you know.
Thank you for the update. I’m glad it finally worked.
The dialogue box doesn’t have the “comp camera is centered” checkbox. I wish there was because for the moment I can’t tell blender where the center is 🙁
We’ll check it out.
does it work on blender 3.5? doesnt seem like tbh
Yeah, it works with Blender 3.5
Just checked on blender 3.6 and it worked. Everybody should look at the right frames! Say, if you’re exporting an animated camera that in After Effects it starts in frame 1300 and ends in frame 1800, you should check there in blender, at THOSE FRAMES.
I feel like there’s a step missing here as to how I track the footages camera motion in AE and what do I do with that / the camera object I create?
Thank you Gachoki!!!!
You’re welcome Aldo!
Там же же ÑкÑпорт композиции, а не камеры из афтер Ñффекта
Извините, Ñ Ð¿Ð¾Ð½Ñл ваш вопроÑ
why can’t I export the files to blender I wont let me select the file ?
Have you installed the addon on Blender?
yes I can see it on blender but I wont let me select. is it cause I’m. on Mac or I have to tweak the setting
I am not sure if that is the reason. I have tested it again on windows and works as expected.
hey it doesnt work in blender 4.1? just gives an error message
It works in Blender 4.1. Download and install the latest version of the addon from the link above.
Hi Mr. Gachoki, when i try to import adobe after effects tracking data .json file the blender does not respond, and hence the operation fails. What should i do ?
Hi,
We are working on an update for the addon.
I will let you known when it is ready
Where can I find the script to use in Aftereffects?
The link is in this article.
Does this work for blender 4.5? It worked perfectly fine for year while i was using version 4.2 of blender, but i switched to 4.5 and it does not work properly, it does not import the keyframes, i’ve tried some stuff but nothing worked, what should i do except going back to 4.2?😭
And one more issue, in AE tracking looks good and smooth, but after importing it in Blender keyframes seem to be a bit of and more laggy, is there any advice on how to solve this? (happens in blender 4.2)
We are aware and working on a fix for this.
For now you can import the data using a Blender version that works then open and continue using the file in Blender 4.5
Im gonna try this, tywm
I am encountering this error every time I upload my data from After Effects 26 into Blender version 5. I would like to know whether this issue is caused by compatibility problems with the latest versions of both software, or if I may be doing something incorrectly.
I would appreciate your assistance in resolving this issue. The installation process was clearly explained and completed successfully, so I am unsure where the problem may be occurring.
We are working on a solution for this