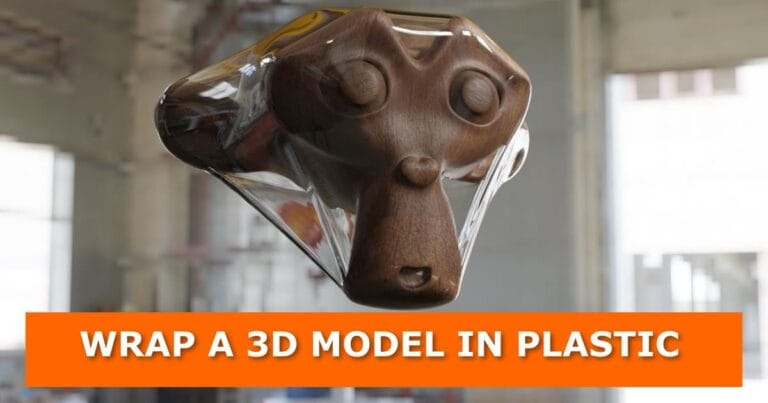
In this tutorial, you will learn how to wrap 3D models in a plastic material using Blender. Follow these steps to get a realistic plastic look. Let’s get started!
Step 1: Wrap your 3D model

- Add a UV Sphere and position it in the middle of your model.
- Scale up the UV Sphere until it covers your entire 3D model.
- With the UV Sphere selected, add a Shrinkwrap modifier.
- In the Shrinkwrap modifier panel, select your 3D model as Target.
- Increase the offset until the sphere covers the entire model.
- Add a Solidify modifier and slightly adjust the Thickness value to your preference.
- Add a subdivision surface modifier with two subdivisions for smoothness.
- Apply smooth shade by selecting the sphere/wrapper and go to Object > Shade Smooth.
Step 2: Add plastic material to your wrapper
- Select the wrapper and create a new material.
- Set up your material nodes as shown in the image below

Download the project file with the plastic material
If you find setting up the material a bit difficult, click here to download the project file for this tutorial. Then append the plastic material to your project.
The video tutorial

Subscribe


