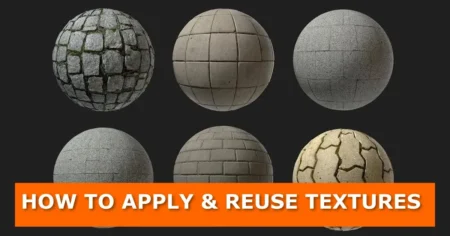
Applying materials to objects in Blender one by one can be time-consuming, especially when working with complex scenes. But did you know there’s a faster way? This tutorial will show you how to assign a material to multiple objects in just a few clicks, saving you time and effort!

1. Create and Customize Your Material
Before you assign a material to multiple objects, you need to create one first:
- Select any object in your scene.
- Navigate to the Material Properties panel.
- Click New to create a new material.
- Customize the material’s settings according to your preferences (color, texture, roughness, etc.).
2. Select Objects to Receive the Material
Once your material is ready, follow these steps:
- Select all the objects you want to apply the material to by holding Shift and clicking on each object.
3. Select the Source Object (Material Holder)
- With all the objects selected, hold Shift and click the object that already has the material. This object should be the last one you select, as it will serve as the reference for the material assignment.
4. Link Materials to All Selected Objects
- Press Ctrl + L to open the Make Links menu.
- Click Link Materials from the menu.
- Now, all the selected objects will have the same material applied!
Why Use This Method?
- Saves time – No need to manually apply materials to each object.
- Consistency – Ensures all objects share the exact same material properties.
- Efficient workflow – Works great when working with multiple assets in a scene.
Get Involved!
Have you tried this technique? Let us know in the comments how it worked for you! If you found this tutorial helpful, share it with fellow Blender artists. For more Blender tips and tricks, be sure to check out our other tutorials!
The Video Tutorial


