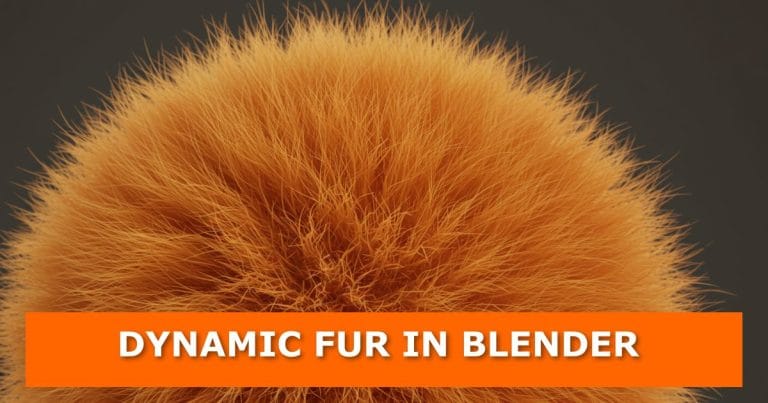
Have you ever wanted to make realistic, flowing fur in Blender but felt overwhelmed by all the settings? The good news is, you don’t need to be an expert to get professional-looking results. With just a few adjustments in the particle system, you can create fur that reacts dynamically and adds life to your models.
In this tutorial, I’ll Walk you through each step to set up dynamic fur. Follow along, experiment with the values, and by the end, you’ll have fur that looks and moves naturally.
Video Tutorial

Step 1: Set Up the Hair Particles
Start by selecting your object.
- Go to the Particles tab.
- Add a new system and choose Hair.
- Enable Advanced to unlock more settings.
Next, adjust the Emission values:
- Set Hair Length to 50 cm.
- Under Source, uncheck Even Distribution.
Step 2: Enable Hair Dynamics
To make the fur react to movement:
- Enable Hair Dynamics.
- In the Volume section, set Air Drag to 0.05.
Step 3: Add Physics
Switch to the Physics tab:
- Activate Brownian Motion and set it to 0.1.
This adds subtle random movement to your fur, making it more natural.
Blender’s physics system drives the natural sway of fur, similar to how you’d simulate rain or fluids. You might also explore some useful Blender physics addons to extend the simulation options available for fur.
Step 4: Refine with Children Settings
Under Children, select Interpolated.
- Set Display Amount to 20.
- Set Render Amount to 50.
This increases the density of your fur without slowing down your viewport too much.
Step 5: Shape the Fur with Clumping
Go to the Clumping section:
- Set Clump to 1.
- Set Shape to 2.
This gives your fur a tighter, more stylized look.
For complex materials like fur, you can use the same principles you’d apply when building advanced shaders such as subsurface scattering.
To manage textures more efficiently across different fur variations, try this easy method of organizing and reusing PBR textures.
Step 6: Add Realism with Roughness
Under Roughness, adjust:
- Uniform to 0.1.
- End Point to 0.05.
These values break up the strands slightly, preventing the fur from looking too perfect.
Step 7: Animate and Bake the Fur
For animation:
- Add Keyframes for rotation.
- Under Cache, hit Bake.
Now your fur is dynamic, reacts to movement, and looks ready for rendering.
Dynamic fur simulation is essential for bringing characters to life in animation projects, adding realistic movement to creatures, animals, and fantastical beings that demand believable hair and fur physics.
Dense fur can increase render times, so it helps to apply methods to speed up Cycles rendering.
To avoid distracting speckles in fur renders, see how to eliminate noise and fireflies.
Try It Yourself
Play around with different values for hair length, clumping, and roughness. Every small tweak changes the look and feel of the fur. Experimentation is the key to creating unique styles.
Whether creating interactive 3D characters for web design experiences or high-quality product renders featuring textured materials, mastering dynamic fur techniques adds a premium level of detail that sets professional work apart.
A quick round of post-processing can give fur renders extra realism. Here’s a fast way to polish your work in Blender.
Have questions about a specific step? Drop them in the comments—I’ll be glad to help. If you enjoyed this tutorial, check out my other Blender guides for more quick tips and tricks.
Keep Creating
Want more Blender tutorials delivered straight to you? Subscribe to the blog, share this post with other 3D artists, and check back often for fresh updates. You’ll discover new techniques that will keep your projects moving forward.
When creating furry characters, pair fur dynamics with shape keys for animation to get realistic hair movement.
More Amazing Tutorials
For a complete workflow, you can combine fur systems with character creation addons.
Dynamic fur shines in projects like creature design, especially when animating large beings. See this guide on animating giant creatures.
Professional visual effects studios rely on advanced fur simulation to create photorealistic creatures for film and commercial work, where every strand must respond convincingly to lighting, wind, and character movement.


