Video tutorial

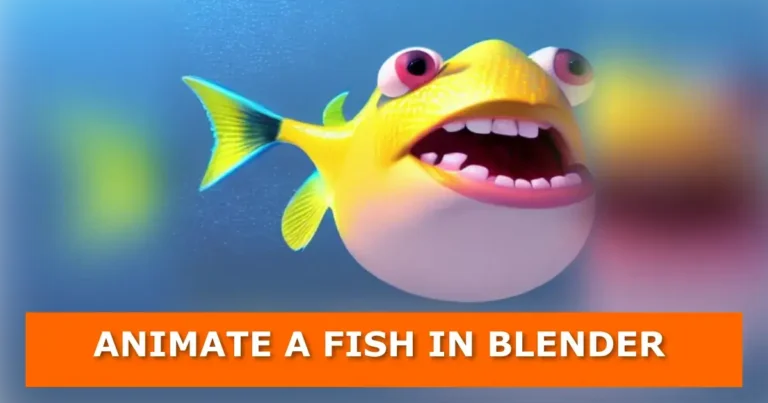
In this tutorial, you will learn how to animate and control a fish in Blender.
Step 1: Prepare your fish model
Place your fish at the center of origin by pressing ‘Ctrl + A’ and apply all transforms.

Step 2: Add a path for the fish
Place the 3d cursor on the world origin by pressing ‘Shift + S’ and select ‘Cursor to world origin ‘.

Press ‘Shift + A’ to add a path Curve as on the image below

Move the path origin to the beginning of the curve and should face the same direction as your fish as in the image below

In edit mode, subdivide your curve four times and move the anchors to make it wavy as in the image below

Select your fish and add a curve modifier. Under ‘Curve Object’, select your path curve ‘NurbsPath’

Return the 3d cursor to the center of world origin, and add a plane axis empty as in the image below

Select the path curve, then the fish, and finally the empty in that order. Press ‘Control + P’ and select ‘Object’ from the dropdown. Now the curve path and the fish should be parented to the empty. You will now use the empty to place the fish anywhere in your scene.
Step 3: Animate the fish
On the first frame select the fish and press ‘I’. From the dropdown, select ‘Location’ to insert the keyframe.
Move to keyframe number 250. Select the fish and move it to the other end of the path curve as in the image below.

With the fish selected and the ‘Dope Sheet’ window open, select the two keyframes and press ‘T’, and from the dropdown select ‘Linear’.
Check out more animation and visual effects tutorials here