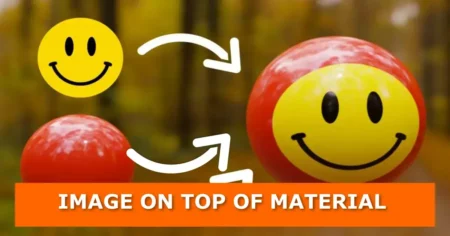
These methods can be used to also add decals and logos to 3D objects. They a compatible with EEVEE and Cycles render engines.
Method 1: Project images onto object surfaces the manual way
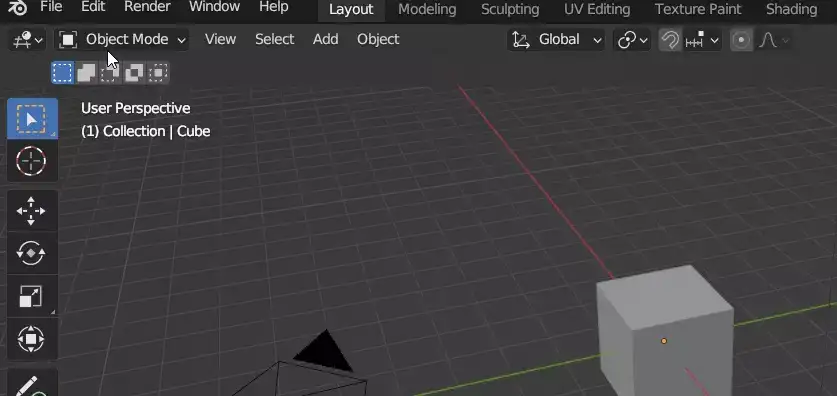
- On Blender’s header menu, go to Edit > Preferences > Add-ons
- Activate the Import Images as Planes add-on
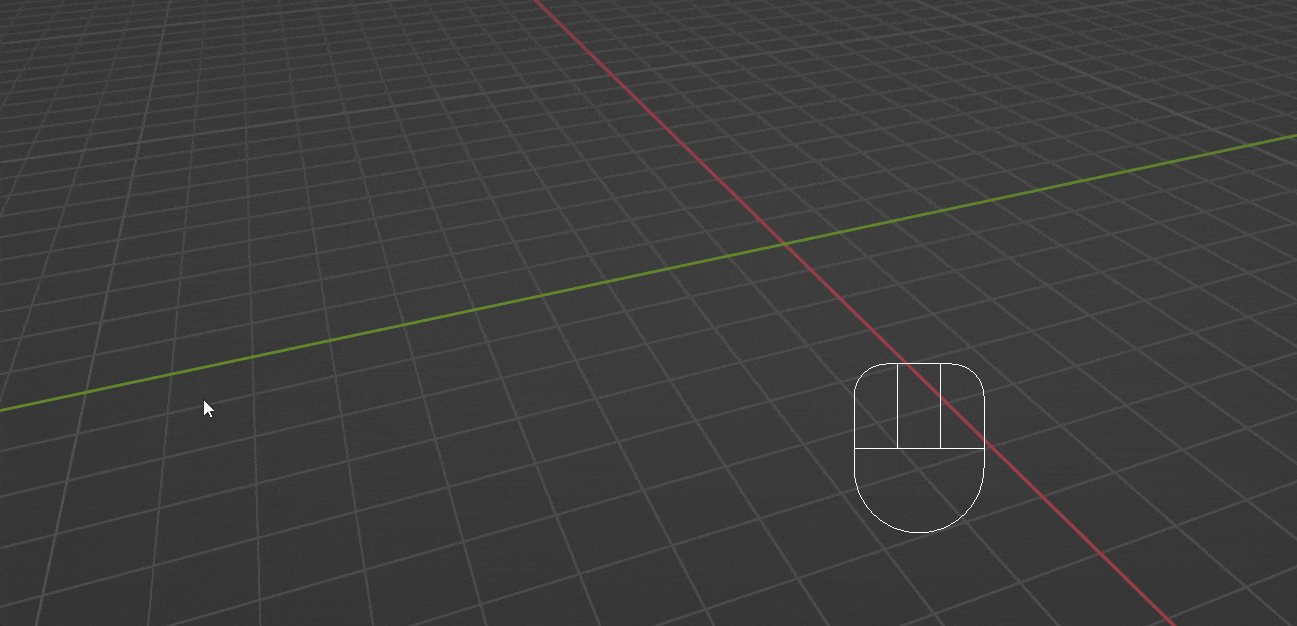
- Press Shift + A on your keyboard and go to Image > Images as Planes
- From the popup select the image or decal you want to project
- Align the image to the position you want to project to the object
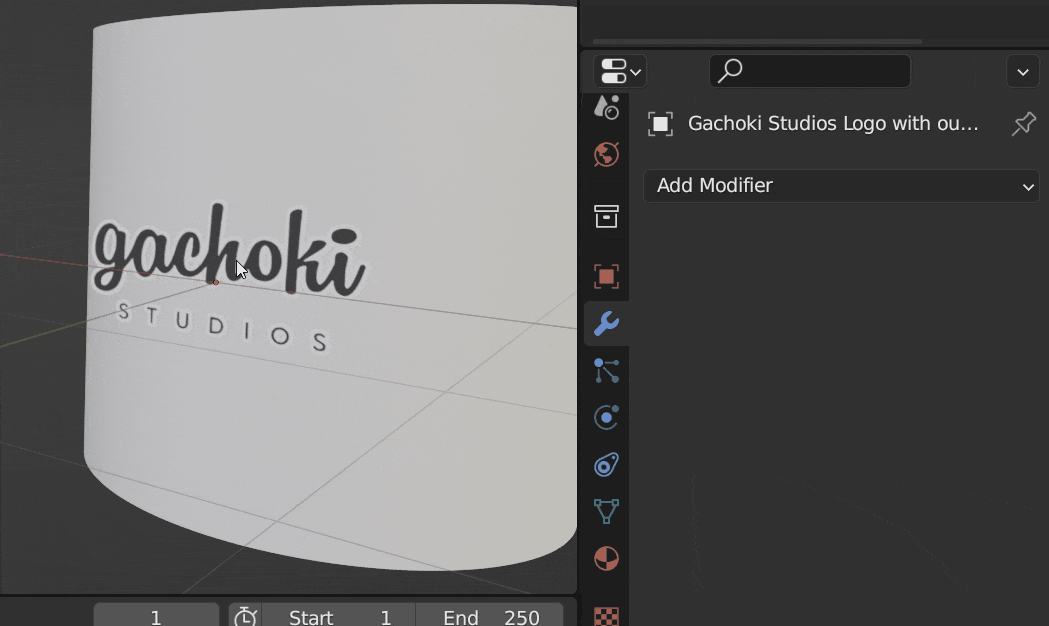
- With the image selected, go to the Modifiers tab and add the Shrinkwrap modifier
- For Target, choose the object you want to project the image

- With the image selected, press the TAB key on your keyboard to go into Edit mode
- Press W and select Subdivide
- On the Number of Cuts, section put 15
- Press TAB again to go back to Object mode

- Adjust the Offset value on the Shrinkwrap modifier until you are satisfied with the projection
Method 2: Project images onto object surfaces using the Product Rendering Tools add-on
Product Rendering Tools add-on has tools that enable you to import and project an image in a fraction of the time. Not only that, it takes just a few clicks.
Here is how it works:

- Import your image or decal

- Project the image to a mesh


