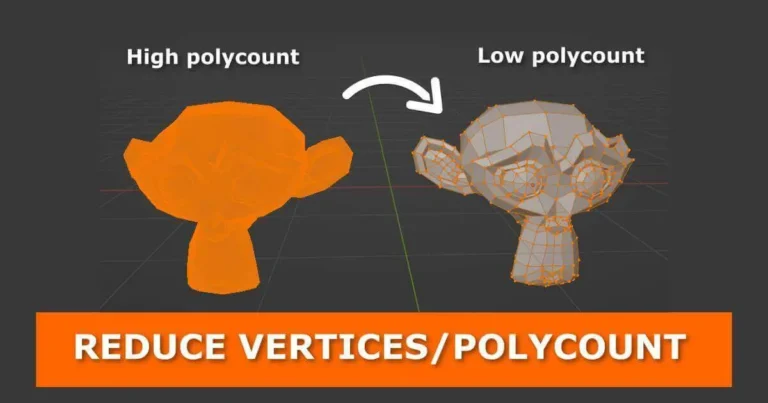
As you sculpt your model in Blender, you may come across a situation where your model has too many polygons. Therefore, you want to reduce the excess geometry in order for your model can be lighter to animate or add effects to. In this post, you will learn how to reduce the number of faces/vertices/polygons on a mesh in Blender.
Method 1: Reduce polygon count using the Limited Dissolve operator

- Select the mesh and press TAB key to switch from Object Mode to Edit Mode.
- Press A key to select all vertices.
- Press X key on and select ‘Limited Dissolve’ from the dropdown menu.
- Adjust the ‘Maximum Angle’ value to get the desired result.
Method 2: Reduce polygon count using the Decimate Modifier
Blender’s Decimate Modifier tries to simplify a mesh, without losing too much detail. There are multiple modes, for finer control, but the default mode should do for most cases. You can try out the different modes and see which produces the best results for you. In this case, we are going to work with the Un-Subdivide and Planar modes
Reduce Polygon Count Using the Un-Subdivide Option in the Decimate Modifier

- Select your mesh and add the Decimate Modifier from the modifiers tab.
- Select Un-Subdivide mode.
- Increase the number of ‘Iterations’ until you are satisfied with the Face Count and the shape of your mesh.
Reduce Polygon Count Using the Planar Option in the Decimate Modifier

- Select your mesh and add the Decimate Modifier from the modifiers tab
- Select Planar mode
- Play with the ‘Angle Limit‘ value until you are satisfied with the Face Count and the shape of your mesh


