
Key Takeaways
- This tutorial explains how to re-texture a rendered Blender scene using the UV pass in the Compositor.
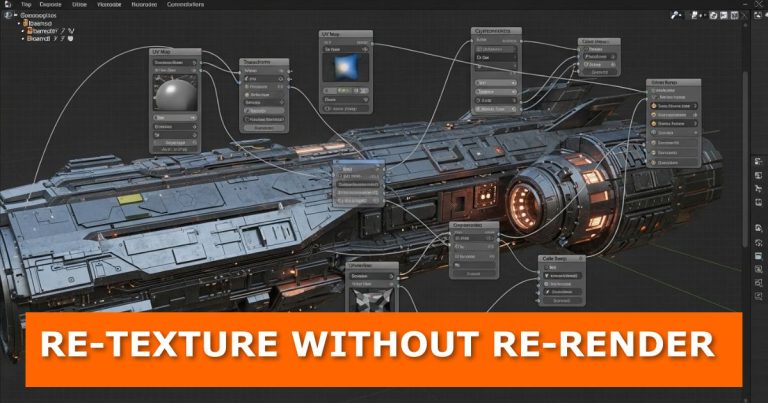
- The workflow avoids full re-rendering by remapping new textures onto existing UV data.
- Required render passes include UV, Diffuse Color, and Cryptomatte.
- The method supports fast texture variations for motion graphics, product visualization, and look development.
- This approach reduces render time and enables rapid visual iteration after rendering is complete.
Overview
This tutorial demonstrates how to change textures on a rendered Blender scene without re-rendering the 3D scene. The workflow uses the UV pass and Blender’s Compositor to project new image textures onto existing geometry.
This technique pairs well with efficient UV workflows such as speeding up UV unwrapping in Blender and advanced texture organization methods like organizing and reusing PBR textures in Blender.
By using rendered UV coordinates and Diffuse Color data, you can replace or modify surface textures directly in compositing. This approach allows fast experimentation with materials while preserving lighting, shadows, and render quality.
Video Tutorial
This workflow is demonstrated in a video tutorial by blenderisms, which shows how to swap textures in Blender’s Compositor using UV passes.

For additional post-processing workflows, see an easy way to post-process your work in Blender.
Step 1: Enable the Required Render Passes
Enable the following render passes in Blender:
- UV Pass for texture coordinate data
- Diffuse Color Pass for base material color
- Cryptomatte Pass for object and material masking
These passes provide the technical data required to project new textures onto rendered geometry and selectively apply changes to specific objects.
If your render appears blank or incorrect, refer to why a Blender render result is completely blank or black and how to fix it.
Step 2: Map a New Image Using the UV Pass
Add a UV Map Node in the Compositor and connect the UV pass output to the UV input of the node.
This connection tells Blender how to project a new image texture using the original UV layout from the 3D model.
If you are working with image-based textures, also review how to set up a video or image sequence texture in Blender.
Step 3: Control Texture Scale and Tiling
Insert a Transform Node between the UV Map Node and the Image node.
Use the Scale values to control texture tiling. Adjusting scale changes how often the texture repeats across the surface.
If blank areas appear, the cause is typically:
- Missing or incorrect UV unwrapping
- Image texture set to Clamp instead of Repeat
If your image textures appear pink or missing, see why image textures appear pink in Blender and how to fix it.
Step 4: Fix Texture Repetition with Translation
Add a Translate Node before the Transform Node.
Set translation values on both axes to control texture offset and repetition alignment. This ensures seamless texture coverage and prevents visible seams or gaps.
For advanced surface projection techniques, see how to project decals and images onto object surfaces in Blender.
Step 5: Mix the Texture into the Diffuse Pass
Connect the Image output into a Mix Node that blends with the Diffuse Color Pass.
Use a Cryptomatte mask as the factor input to control which objects or materials receive the new texture.
If you need to assign materials across multiple objects, review how to assign material to multiple objects in Blender.
For transparent overlays, see how to add a transparent PNG texture image on top of material in Blender.
Step 6: Reuse the Setup for Fast Variations
Once the compositor node setup is complete, you can swap image textures at any time.
This allows you to generate multiple visual variations without re-rendering the scene or recalculating lighting.
This workflow is effective for:
- Motion graphics
- Product visualization
- Look development
- Client review variations
- Rapid material testing
This technique is particularly valuable for animation projects where multiple texture variations need to be tested across different frames or sequences without the overhead of complete scene re-renders.
For faster overall output, see how to speed up Cycles render in Blender.
Workflow Benefits
This UV pass compositing technique provides:
- Reduced render times
- Faster material iteration
- Preservation of lighting and shadows
- Non-destructive texture changes
- Scalable variation production
This workflow complements advanced shading topics such as Blender subsurface scattering and creating realistic glass materials in Blender Eevee.
The UV pass compositing workflow is a core time-saving technique in professional visual effects production, allowing VFX artists to deliver multiple look variations to clients efficiently.
Conclusion
Using the UV pass in Blender’s Compositor allows texture changes after rendering is complete. This method supports rapid visual iteration while maintaining high-quality lighting and shading.
Whether creating 3D assets for web design implementations or standalone product renders, this non-destructive texturing approach streamlines the creative iteration process significantly.
For further look development techniques, also explore:


