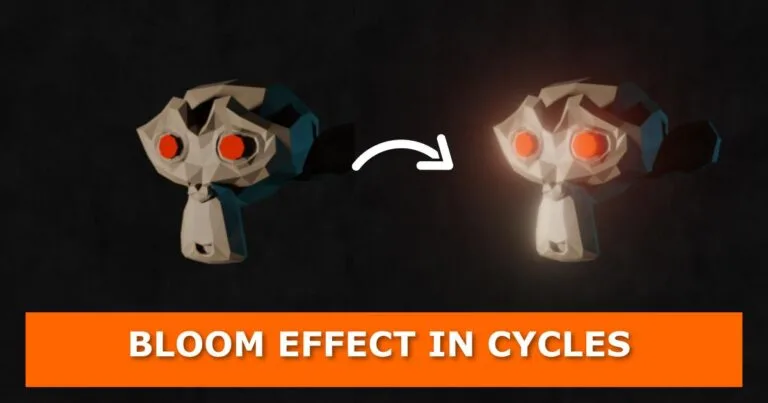
Want to make your Blender renders pop with a magical glow? You’re in the right place! While Eevee has a built-in bloom effect, Cycles does things a little differently. Don’t worry—it’s not complicated. With the help of Blender’s compositor, you can easily add bloom effects to your Cycles renders. Let me walk you through it step by step.
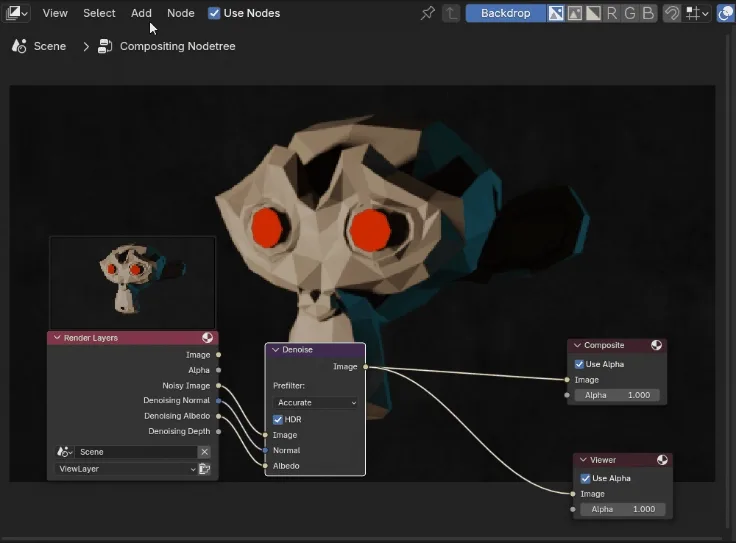
Getting Started with the Compositor
First things first, we need to set up Blender’s compositor:
- Go to the Compositor tab in Blender.
- Make sure the Use Nodes checkbox is ticked. This gets the compositor ready to work its magic.
Adding the Glare Node
The glow effect comes from Blender’s Glare Node, and adding it is super straightforward:

- Press Shift + A to open the “Add” menu. Or on the Top Menu, go to Add.
- Navigate to Filter and select Glare.
- Drop the Glare Node right between the existing nodes in your setup.
That’s it! You’re ready to start creating glow effects.
Picking Your Glare Style
Blender’s Glare Node offers four different styles of effects. Here’s a quick guide to help you pick the right one:
- Ghosts: Adds streaky, dreamy highlights for an ethereal vibe.
- Streaks: Perfect for dramatic, sharp light effects.
- Simple Star: Creates starburst flares—great for a cinematic feel.
- Fog Glow: This one’s closest to Eevee’s bloom effect, giving you a soft, natural glow.
Each style brings something unique, so feel free to experiment and find what works best for your scene.
Tweaking and Layering for the Perfect Effect
Every glare type comes with adjustable settings, so don’t be afraid to play around! Here are a few things to try:
- Adjust the Threshold to control where the glow starts.
- Use the Mix slider to blend the effect with your original image.
- Tweak the Size to make the effect bigger or smaller.
Want something more dramatic? Try layering multiple Glare Nodes on top of each other for a custom look. Just remember—sometimes, less is more.
Let’s Hear From You!
Have questions or tips about using the Glare Node? Drop them in the comments below—we’d love to hear from you! Got ideas for future tutorials? Let us know, and you might inspire our next post.
If you’re hungry for more Blender tricks, check out our Blender Addons for Retopology or learn how to set up Infinite Object Rotation in Blender.
Time to Shine!
Now it’s your turn! Fire up Blender, try out the Glare Node, and see how it transforms your renders. Share your results with us—we’d love to see what you create. And don’t forget to subscribe for more tips, share this post with your Blender buddies, and check out our other tutorials to keep improving your skills. Let’s make something amazing together!
If you’re working with lighting effects, you may also want to check addons for lighting in Blender to build strong illumination setups before applying bloom.
For better material interaction with glow, you could also explore Blender material addons, which give you access to shader libraries that pair well with bloom effects.
If you’re experimenting with realistic highlights, you might also enjoy how to create realistic glass material in Blender Eevee, since glass and reflective surfaces work well with bloom.
For render optimization while working with glare, you may also find how to eliminate noise, grain, fireflies from renders in Blender useful to ensure clean glowing edges.
For further creative control, see Blender shadow catcher to integrate glowing objects into composite renders seamlessly.


