
If you’ve ever wanted to give your 3D characters more personality—like making them smile or blink—shape keys in Blender are the tool you need. They allow you to create facial expressions and subtle movements that bring your characters to life. In this tutorial, I’ll Walk you through the exact steps to set up and use shape keys in Blender.
If you’re just getting into character work, you might also find Blender addons for character creation helpful, since they can speed up your workflow before diving into shape keys.
Video Tutorial

Step 1: Select Your Object
Start by selecting the object you want to animate with shape keys. In this case, we’ll work with a character’s face.
When working on shape keys, it’s good practice to also check your mesh topology. If you’re unsure, you can look at techniques to clean up text topology in Blender for better deformation results.
Step 2: Add Shape Keys
- Go to the Object Data Properties panel.
- Scroll to the Shape Keys section.
- Click the plus (+) button to add a Basis shape key. This acts as your default reference.
- Hit plus (+) again to create your first shape key.
Step 3: Edit the Shape Key
With your first shape key active:
- Enter Edit Mode.
- Select your model.
- Turn on Proportional Editing.
- Make adjustments. For example, to create a smile, pull the corners of the mouth upward.
Once you’re happy with the changes, tab back into Object Mode.
Step 4: Test Your Shape Key
With the shape key selected, move the Value slider in the Shape Keys panel.
- Sliding it up will apply your edits.
- Sliding it down will return to the default.
Now you can see your character smoothly transition into a smile.
Step 5: Add More Shape Keys
Repeat the process to add as many expressions as you want:
- A blink by adjusting eyelids.
- A frown by pulling down the mouth corners.
- Or even more complex movements.
Experiment and build a library of expressions for animation.
Wrap Up
If you are exploring more animation options, you may also want to try how to copy animation data from one object to another in Blender, which can save time when working with multiple characters or objects.
For more advanced setups, you can also combine shape key animation with techniques like how to bake animations and simulations to keyframes in Blender for efficiency during rendering.
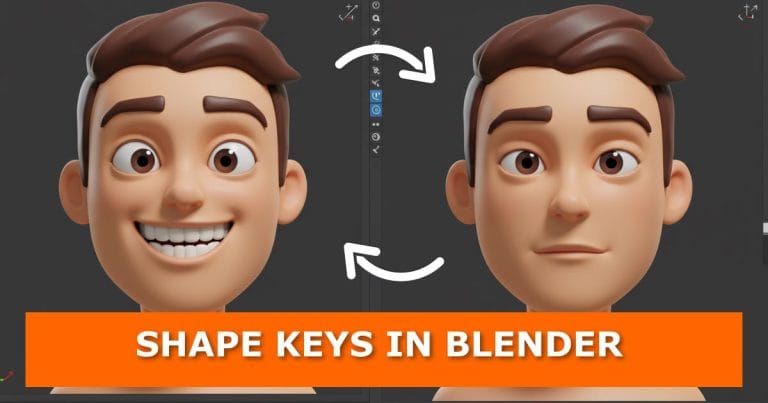
That’s it—you now know how to use shape keys in Blender to create facial expressions and movements. This simple but powerful feature can transform a static model into a character with emotion and depth.
Do you have a favourite shape key to use in your projects? Drop a comment below—I’d love to hear your ideas. If you want to explore more Blender tips, check out the related tutorials on the blog.
Over to You
If you found this tutorial helpful:
- Subscribe to the blog for more Blender tips and tutorials.
- Share this post with other artists who might find it useful.
- Check back often for new updates on animation, modelling, and visual effects.


