
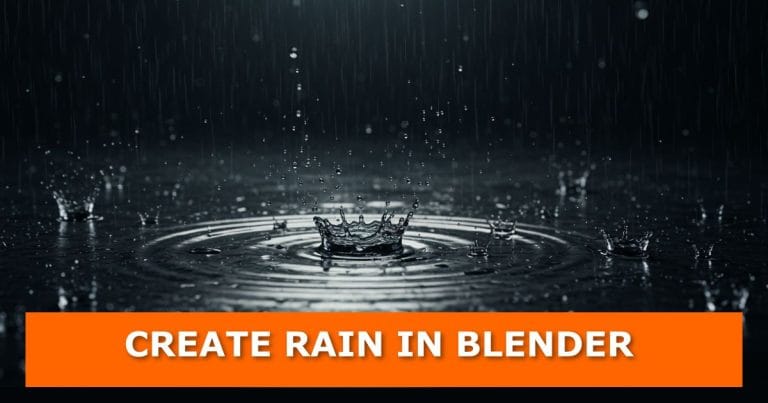
Rain can transform a simple 3D scene into something atmospheric and alive. The good news is that Blender makes it surprisingly simple to create realistic rain effects once you know where to look. In this tutorial, I’ll Walk you through everything from setting up the droplets to creating ripples on the ground—straight from a clean file.
By the end, you’ll have a dynamic rain simulation complete with falling droplets, ripple effects, and motion blur for realism.
If you are already experimenting with environment details, you might also want to learn how to create clouds in Blender in 1 minute for a more complete weather system.
Video Tutorial

Step 1: Set Up the Scene
- Open Blender and start fresh.
- Add a plane to act as the ground that catches the rain.
- Duplicate that plane (Shift + D) and move the copy above the first plane. This upper plane will emit the rain droplets.
When preparing your scene, it can help to understand how to set a background image in Blender for modelling reference so you can match the rain effect to the environment.
Step 2: Create the Rain Droplets
- Select the top plane (the emitter).
- Add a particle system to it. Leave it on Emitter type.
- Play the animation to preview—droplets will fall down.
- Match the frame end of the particle system with the timeline’s frame end so the rain lasts throughout the animation.
To improve realism, you can also look at Blender physics addons that expand particle and fluid simulations, or even explore Blender addons for fluid simulation for more advanced rainfall setups.
Step 3: Shape the Particles
- Add an Icosphere (keep it low poly).
- In the Particle System > Render tab, change Render As to Object.
- Set the icosphere as the instance object.
- Increase Scale Randomness to around 0.8–1 for variety.
- Reduce particle scale so droplets look realistic.
Tip: Hide the emitter plane by unchecking Show Emitter in both viewport and render.
Step 4: Add Ripple Effects with Dynamic Paint
Now let’s make ripples appear when droplets hit the ground.
- Select the emitter plane.
- Add Dynamic Paint.
- Set it to Brush.
- Assign the particle system so droplets act as paint.
- Select the bottom plane.
- Go into Edit Mode and add subdivisions (the more detail, the better the ripples).
- Add Dynamic Paint and set it as Canvas.
- Choose Waves as the paint type.
Now, when droplets fall, ripples spread across the ground.
Step 5: Fine-Tune the Ripples
- Smooth the ground plane with Shade Smooth.
- Adjust the Wave Radius to control how ripples spread.
- On the brush (emitter) settings, enable Use Particle Radius so ripple size matches droplet size.
Play around with these values until you get a natural ripple effect.
Step 6: Add Materials and Lighting
To make the scene pop:
- Apply a Glossy Shader to the ground plane so it looks wet.
- Add a Glass Shader to the droplet icosphere.
- Use an HDRI environment texture for realistic lighting.
- Turn on Motion Blur in render settings for natural rain streaks.
If you want to share your animation, check how to render an animation as video in Blender or how to render transparent animation videos in Blender’s Cycles and Eevee render engines. Also, make sure to optimize performance by learning how to eliminate noise, grain, and fireflies from renders in Blender for clean outputs.
Step 7: Experiment and Have Fun
Once the basics are set, you can push the effect further:
- Adjust rain speed and wave spread in the canvas and brush settings.
- Add a force field like wind to make the rain blow sideways.
- Mix different droplet sizes for a more natural rainfall.
Conclusion
That’s it—you’ve just made realistic rain in Blender! With particle systems, dynamic paint, and a bit of shading, you can simulate a rainy scene that feels alive.
Want to try more Blender effects? Leave a comment below with what you’d like to learn next—whether it’s fire, snow, or something completely different. If this tutorial helped, share it with your fellow 3D artists, subscribe for more Blender tips, and check back here for regular updates.


