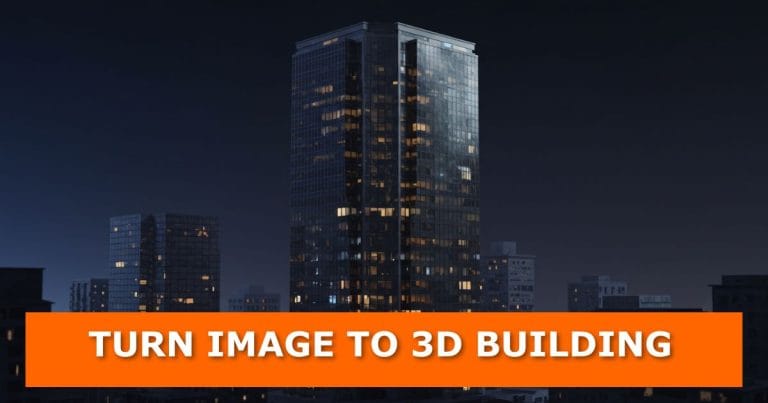
Ever looked at a flat 2D image of a building and wished you could walk around it in 3D? With Blender, you can transform a simple image into a fully modelled building that can fit right into a digital city. In this guide, we’ll go step by step through the process of converting a single image into a detailed 3D building while keeping things simple and efficient.
Video Tutorial

Step 1: Import Your Image as a Plane
Start by importing your reference image into Blender as a plane. This gives you a flat canvas to work from. If you’re new to this, you can check out my quick guide on how to import images as planes in Blender to make sure you’re set up correctly.
Step 2: Define the Main Structure
Use loop cuts to divide the plane into sections. Focus on isolating the main parts of the building — walls, rooflines, or larger blocks. Once isolated, select those areas and extrude them out to give the building depth.
Need a refresher on extrusion techniques? This breakdown on Blender extrude tricks will help you push geometry exactly the way you need.
Step 3: Add More Depth with Inner Details
Go back in and create more loop cuts for smaller details like ledges, beams, or architectural features. Select them and extrude again. Repeating this process layer by layer builds up realistic depth without overcomplicating the mesh.
For clean cuts, see how to straighten loop cuts in Blender.
Step 4: Create Realistic Windows
Windows can make or break the realism of a building. Isolate the window areas with more loop cuts, then assign them a new material. Duplicate the building’s base texture, increase the metallic value, and lower the roughness to create reflective glass.
If you’d like to go further, you can explore how to create realistic glass material in Blender Eevee.
Step 5: Add Extra Details (Air Vents, Pipes, Wires)
Import a reference image of an air vent, model it, and place it onto the building texture where needed. If textures appear stretched, reproject and realign them to match better.
Want to push realism even more? Check out how to project decals and images onto object surfaces in Blender.
Step 6: Duplicate, Rotate, and Build a City
Once your first building looks good, duplicate and rotate it to create variations. Keep the models low poly for efficiency. With just a few variations, you can quickly fill a scene and build an entire cityscape.
Creating efficient 3D building models from photos is essential for animation projects featuring urban environments, allowing artists to populate scenes with realistic architecture without extensive manual modeling.
If you’d like to explore city-building further, learning how to blockout in Blender will help you plan large environments faster.
Want to Go Further?
This process can be as simple or detailed as you want. Some artists stop at the basics, while others add wires, pipes, and rooftop details to make their buildings stand out. The beauty of Blender is that you control the level of detail.
Whether creating interactive 3D cityscapes for web design experiences or architectural visualizations, this workflow lets you build convincing environments efficiently without sacrificing visual quality.
If you’re curious about other fun tricks, you might enjoy these:
- How to create floating helium balloons in Blender
- How to simulate rain in Blender
- How to render transparent PNG images in Blender
This image-to-3D building technique is widely used in visual effects production to quickly create background environments and establish shots that would be too costly to build from scratch.
Your Turn to Build
Now that you know the steps, it’s time to try it yourself. Start with one photo, turn it into a 3D building, and experiment with details until it feels like part of a living city.
If you run into questions, drop them in the comments — I’d love to hear about your progress. You can also subscribe to the blog for fresh Blender tutorials and tips that keep you learning something new each week. And if you enjoy this tutorial, share it with a friend who’s getting into 3D modelling.
Discover More Worlds to Build
Blender gives you the tools to turn imagination into something you can see and explore. Don’t stop here — dive into more tutorials across the blog, experiment with different workflows, and challenge yourself to create something new today.


