How to Turn One AI Image Into a Real 3D Print, Free and Local
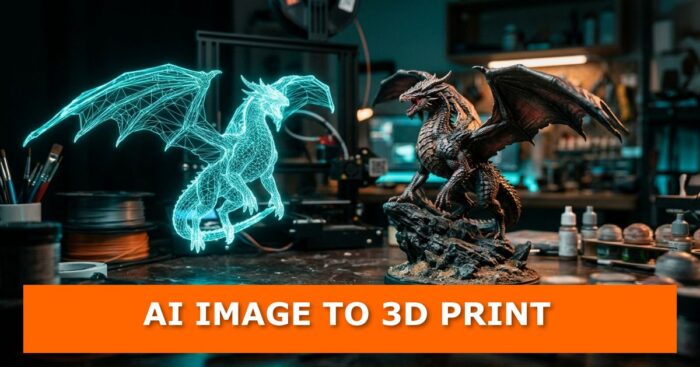
You can turn a single AI-generated image into a physical 3D print using only free tools running on your own PC. The pipeline is simple: generate the image with Qwen Image 2.1, convert it to a 3D model with Trellis 2 in ComfyUI, make the mesh watertight, clean it up in Blender, and slice it for printing. No subscriptions, no cloud credits, no uploading your ideas to someone else’s server.
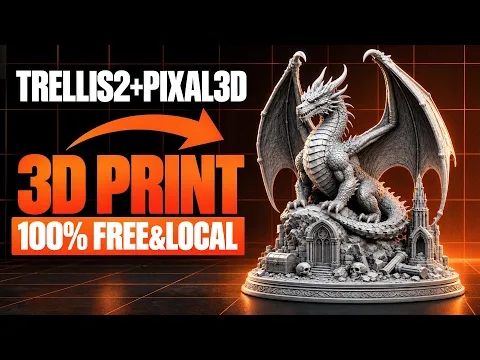
PixelArtistry just walked through the whole thing by printing a detailed dragon statue from one prompt. Here is the full workflow, minus the guesswork.
What You Are Building
The pipeline has six stages, and each one hands off cleanly to the next:
- Generate a 2K image locally with Qwen Image 2.1.
- Convert that image into a 3D model with Trellis 2.
- Make the mesh watertight so a slicer can actually use it.
- Check and clean it in Blender.
- Slice it in your slicer of choice (the video uses Chitubox).
- Print it.
The creator packages everything as five free workflows: one Qwen Image 2.1 text-to-image workflow, three image-to-print workflows (1K, 1.5K and 2K), plus a bonus multiview workflow. The repository also includes an installer file, prompt templates and examples. If you like local AI pipelines, this pairs nicely with our look at a 6GB VRAM setup that builds game-ready characters with free AI.
What You Need Before You Start
The order matters here, so read this part twice.
- Install ComfyUI Easy Install and Trellis 2 first. The watertight mesh nodes are compiled for CUDA 12.8, PyTorch 2.8 and Python 3.12. Any other combination and the nodes will not work.
- Use the Trellis 2 installation guide from PixelArtistry, which includes a batch file that installs Torch 2.8 and CUDA 12.8 with all dependencies.
- Windows 10 or 11 is the main target. Linux also works.
- An Nvidia GPU is the realistic choice, since Trellis 2 is built around it. An AMD version is reportedly in the works.
- The latest ComfyUI. The required custom nodes are installed by the script.
Step-by-Step: From Prompt to Print
Step 1: Install the print workflows
- Download the install_win.bat file from the repository using “Download raw file.”
- Drop it into the add-ons folder of your ComfyUI Easy Install package. Renaming it to something like “print” helps you spot it later.
- Run it. It downloads the nodes and places the workflows for you.
- If you already installed the watertight mesh nodes from the earlier video, you can skip the node step and just grab the workflows.
Step 2: Generate the image with Qwen Image 2.1
- Start ComfyUI, open Workflows, then the PixelArtistry folder, and load the text-to-image workflow.
- Download the models listed in the workflow, place them in the right folders, restart ComfyUI and refresh the page.
- The default is 2K resolution for the sharpest result. On low VRAM, drop it to 1MP for 1K output.
- Run it. On an RTX 5080, the dragon took around 473 seconds.
- Want a different version? Change the seed or tweak the prompt.
Prompt tip: Describe your idea to ChatGPT or Claude (the free versions work fine) and ask them to refine it for Qwen Image 2.1. The repository also includes a printable statue prompt file with a formula: start with a single compact subject, then describe the base that blends into the image.
Step 3: Pick the right 3D workflow for your hardware
- Low VRAM: use the 1K workflow.
- 12 to 16 GB VRAM: use the 1,536 (1.5K) workflow.
- Above 16 GB VRAM and at least 32 GB RAM: use the 2K workflow.
A VRAM table in the repository confirms which one fits your card.
Step 4: Run the image-to-3D workflow
- Load your generated image. The workflow removes the background automatically.
- Choose between Pixel 3D and Trellis 2 in the conditioning section.
- Before your first run, set your Blender path in the workflow. Right-click your blender.exe, choose “Copy as path,” paste it in, and delete the double quotes at the start and end.
- Expect the generation to take 10 to 12 minutes, sometimes longer.
- Check the result in the 3D model viewer, including the back, since single-view generation only sees the front.
A few notes on the settings. The 1.5K workflow uses 16 million proxy points, which gave strong results. The quad reconstruct node is bypassed on purpose because it can crash the watertight section at high proxy counts. The final mesh is decimated to 8 million polygons, which is fine for printing. If you want the full-resolution mesh, you can add a Save 3D Model node and connect it straight from the Make Watertight node, giving you two versions to compare. Just make sure the bigger file still fits your slicer.
Small flaws do appear, such as an odd patch where sky was meant to be. Fix those in Blender or try another seed.
Step 5: Export and clean up in Blender
- Export the mesh as a GLB file. The creator hit errors exporting STL directly from ComfyUI.
- In Blender, use File, Import, glTF.
- Enter Edit Mode, press P, and choose By Loose Parts. This split off 13 pieces in the demo.
- Delete the tiny floating chunks and keep the main model.
- Optionally run the 3D Print Toolbox add-on. The dragon showed zero bad contiguous edges and a truly watertight mesh with no floating internal geometry.
New to the tools? Our guides on how to split and separate an object in Blender and how to install add-ons in Blender cover the basics, and removing double and overlapping vertices helps if your mesh needs more tidying.
Step 6: Export to STL and slice
- Go to File, Export, STL. Enable Selection Only and keep the scale at 1, so lights and extras stay out.
- In Chitubox, import the STL. The model will look tiny, so change the scale from 100 to 10,000 percent to reach real size.
- No raft is needed since the model already stands on its own base. Set raft height to zero and the platform contact shape to none.
- Add light, cross-branched supports. For a resin miniature, light supports are enough.
- Slice, send to the printer and start the job.
The dragon took about 4 hours on a resin printer. After printing, it was washed and cured in a UV station.
1K vs 1.5K vs 2K: Is the Extra Resolution Worth It?
The 2K version delivers the most detail, especially in scales. But the difference from 1.5K is not dramatic, and 1.5K is a bit faster. The 1K version loses some definition around the eyes and wing areas, yet it is still solid for simpler characters. If your model is not as complex as a dragon, the lighter workflow may be all you need.
What About Multiview?
The bonus multiview workflow uses Qwen Image 2.1 to create four views from your front image, then feeds them into Trellis for the Pixel multiview method. It can give you better back-side coverage, but when the views do not align perfectly you may get unrounded, distorted shapes. If that happens, try a different focal length in the multiview conditioning. A value of 20 is a good starting point.
For more on turning pictures into geometry, see how one photo can become a full 3D world, free and local, and our look at blocking in Blender and finishing with AI. AI is quickly becoming a normal part of the 3D printing toolchain, from concept art to finished mesh.
FAQ
Do I need an Nvidia GPU? For this setup, yes, in practice. Trellis 2 is built around Nvidia hardware, though an AMD version is reportedly being developed.
Which workflow should I choose for my VRAM? Use 1K for low VRAM, 1.5K for 12 to 16 GB, and 2K for more than 16 GB of VRAM plus at least 32 GB of RAM.
Why does my model need to be watertight? Slicers need a closed mesh with no holes or floating geometry, otherwise they cannot calculate a printable solid.
Why is my model tiny in the slicer? The export scale is small by default. Change the scale from 100 to 10,000 percent in Chitubox to reach the real size.
Watch the Full Walkthrough
Print First, Brag Later
A free, local pipeline that goes from a text prompt to a physical dragon on your desk is a pretty good deal. Start with the 1.5K workflow, run one test model, and see how the printer treats it. Then push to 2K once you trust the process.
Got a model you are itching to print? Drop a comment with your GPU, your slicer and what you plan to make, and tell us which resolution worked best for you. If you want more tutorials like this, explore our latest AI and Blender guides and keep building.

What do you think?
Join the Conversation